Excel is very flexible. You can customize your working environment to your heart's content. You can change menus, the toolbar, viewing and printing options, and many more variables. There may come a day, however, when you want to reset the Excel toolbars structure their default condition. When you do this, all the toolbar buttons and their order will be set to the same condition they were when you first installed Excel.
If you want to reset the Excel toolbars, perform these steps:
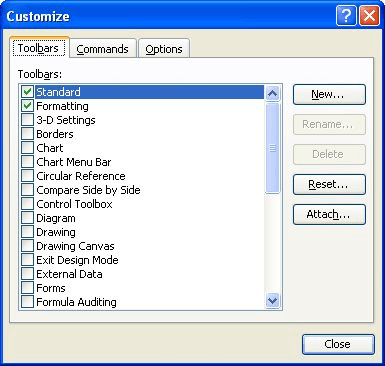
Figure 1. The Toolbars tab of the Customize dialog box.
ExcelTips is your source for cost-effective Microsoft Excel training. This tip (2727) applies to Microsoft Excel 97, 2000, 2002, and 2003.

Best-Selling VBA Tutorial for Beginners Take your Excel knowledge to the next level. With a little background in VBA programming, you can go well beyond basic spreadsheets and functions. Use macros to reduce errors, save time, and integrate with other Microsoft applications. Fully updated for the latest version of Office 365. Check out Microsoft 365 Excel VBA Programming For Dummies today!
Want to get rid of a toolbar button? There's no need to drag open the menus and dialog boxes; just use the shortcut ...
Discover MoreWouldn't it be great to have a workbook accessible with just a single button click? It's possible if you follow the steps ...
Discover MoreEver tried to clean-up the icons on your toolbar only to have one that won't go away? This tip explores some possible ...
Discover MoreFREE SERVICE: Get tips like this every week in ExcelTips, a free productivity newsletter. Enter your address and click "Subscribe."
There are currently no comments for this tip. (Be the first to leave your comment—just use the simple form above!)
Got a version of Excel that uses the menu interface (Excel 97, Excel 2000, Excel 2002, or Excel 2003)? This site is for you! If you use a later version of Excel, visit our ExcelTips site focusing on the ribbon interface.
FREE SERVICE: Get tips like this every week in ExcelTips, a free productivity newsletter. Enter your address and click "Subscribe."
Copyright © 2026 Sharon Parq Associates, Inc.
Comments