Default Headers and Footers
Let's face it—when you first start Excel, the headers and footers used in your workbook are pretty boring. In fact, you may be getting tired of changing the default headers and footers on each new workbook you create.
If you find yourself in this boat, you can set the headers and footers so they default to anything you desire. You can also create any other "customizations" for your worksheet in this same manner. Simply follow these steps:
- Open a new Excel workbook.
- Set up the workbook the way you want it to appear, by default. This should include (but not be limited to) headers, footers, and the like.
- Choose Save As from the File menu. Excel displays the Save As dialog box. (See Figure 1.)
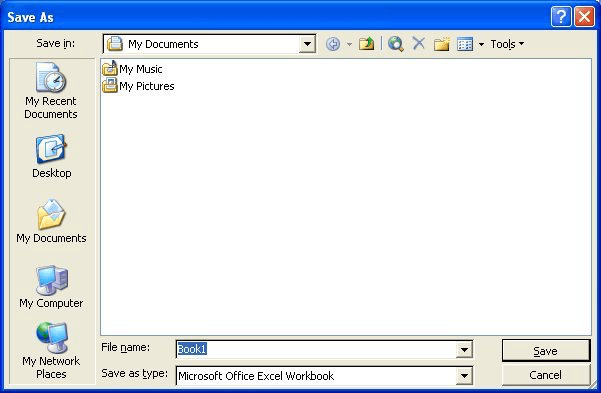
Figure 1. The Save As dialog box.
- In the Save As Type pull-down list at the bottom of the dialog box, select Template (*.xlt).
- The file name you use should be Book.xlt.
- Save your newly created template in the XLStart folder. (Do not save it in the default template folder.)
That's it. Now, any time you create a new workbook, Excel uses your template (Book.xlt) as its model for what you want.
If you are unsure of where the XLStart folder is located (step 6), use the Find feature of Windows to locate the folder. Its exact location can vary depending on how Excel was installed on your machine, as well as the version you are using. You should note that if you are using Excel in a networked environment, you may not have the proper permissions to modify or save anything in the XLStart folder on the server. If you are in this situation, you can get around it in the following manner:
- Create your own "startup folder" on your local machine. You can name the folder anything you like.
- Store the Book.xlt template file in the folder you created.
- Within Excel, choose Options from the Tools menu. This displays the Options dialog box.
- Make sure the General tab is selected. (See Figure 2.)
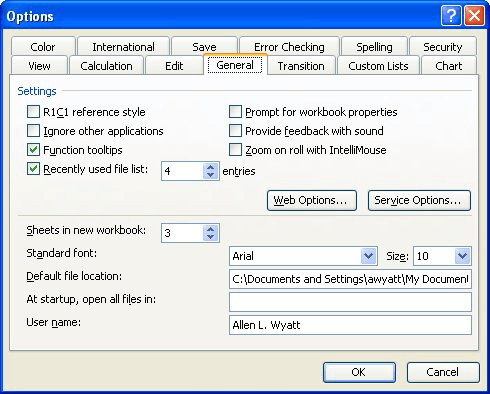
Figure 2. The General tab of the Options dialog box.
- At the bottom of the dialog box, change the Alternate Startup File Location to the complete path of your own startup folder (the one you created in step 1).
- Click on OK to close the Options dialog box.
- Close and restart Excel.
There is one other caveat to this tip: If you use the Worksheet option from the Insert menu to add a new worksheet to your workbook, the new worksheet will not have the settings (including the header and footer) set the way you want them. To handle this circumstance, follow these steps:
- Open a new Excel workbook, after doing the previous steps. In this instance, all your settings should be just the way you want them.
- Delete all the worksheets from the workbook except one.
- Choose Save As from the File menu. Excel displays the Save As dialog box.
- In the Save As Type pull-down list at the bottom of the dialog box, select Template (*.xlt).
- The file name you use should be Sheet.xlt.
- Save your newly created template in the XLStart folder, not in the default template folder.
Now, when you insert a worksheet, it will be based on the single sheet you saved in Sheet.xlt.
ExcelTips is your source for cost-effective Microsoft Excel training.
This tip (2635) applies to Microsoft Excel 97, 2000, 2002, and 2003.
Author Bio
Allen Wyatt
With more than 50 non-fiction books and numerous magazine articles to his credit, Allen Wyatt is an internationally recognized author. He is president of Sharon Parq Associates, a computer and publishing services company. Learn more about Allen...
Wrapping Text Around a Text Box or Frame
Text boxes and frames can be used for all sorts of information and objects in a document. You can wrap text around the ...
Discover More
Two Printed Copies to Different Paper Trays
Many modern printers include multiple paper trays that can be used for different types or colors of paper. Word allows ...
Discover More
Select One Cell and Make Another Cell Bold
Excel provides a number of different ways you can apply formatting to a cell based upon various dynamic conditions. One ...
Discover More
Ampersands in Headers and Footers
Add an ampersand to the text in a header or footer and you may be surprised that the ampersand disappears on your ...
Discover More
Using a Different Footer on Secondary Pages
When printing a worksheet, you may want to have the footer different on the first page of your document than it is on ...
Discover More
Adding Graphics to a Header or Footer
Excel makes it easy to add graphics to a header or footer, as long as you are using at least Excel 2002. Here's the steps ...
Discover More

Comments