Written by Allen Wyatt (last updated September 6, 2025)
This tip applies to Excel 97, 2000, 2002, and 2003
Excel allows you to insert many different items in the header or footer of your spreadsheet (as you can see in other ExcelTips). Unfortunately, one of the items you cannot easily add is the full path name of your spreadsheet file. You can, however, add the path name to the header or footer by using a macro, such as the following one:
Sub DoPath()
'   Inserts the file name and path in the footer
'   of each worksheet in the active workbook
    For Each sheet In ActiveWorkbook.Sheets
        sheet.PageSetup.CenterFooter = ActiveWorkbook.FullName
    Next sheet
End Sub
To use this, simply run it and it adds the full path and file name for your spreadsheet file into the center section of the footer. It does this for every worksheet in your workbook. If you want the information added to a different place in the footer or header, you simply replace the CenterFooter portion of the macro with one of the following: LeftFooter, RightFooter, LeftHeader, CenterHeader, or RightHeader.
As noted, the above macro changes the header or footer for each worksheet in your workbook. If you only want to change the current worksheet, you can use the following abbreviated version of the macro:
Sub DoOnePath()
'   Inserts the file name and path in the footer
'   of the active worksheet
    ActiveSheet.PageSetup.CenterFooter = ActiveWorkbook.FullName
End Sub
You should note that unlike other items you stick in the header or footer, the path and file name inserted by these macros are not "dynamic." Thus, if you move the spreadsheet file to a different directory or save it under a different name, you need to run the macro again.
While the above solutions work just fine in all versions of Excel, if you are using Excel 2002 you should know that there is an even easier way to add the path name to the header or footer. Microsoft finally heard the requests of users, and added a button to the Header and Footer dialog boxes that allows you to insert both the path and file name of a workbook. Follow these steps:
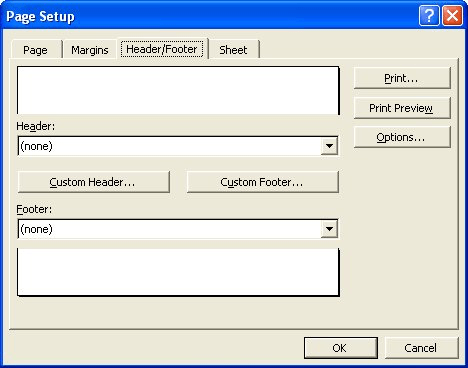
Figure 1. The Header/Footer tab of the Page Setup dialog box.
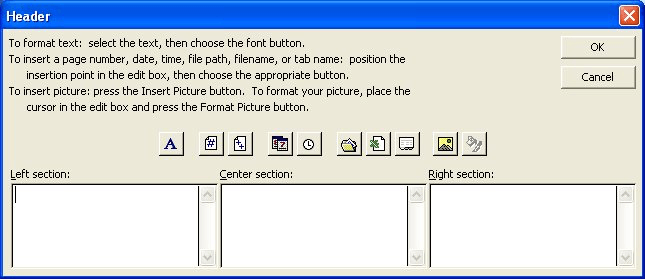
Figure 2. The Header or Footer dialog box.
&[Path]&[File]
Unlike the macro solution provided earlier in this tip, the new header and footer codes provided in Excel 2002 are dynamic. If you rename or relocate your workbook file, the information in the header or footer will change the next time you print.
Note:
ExcelTips is your source for cost-effective Microsoft Excel training. This tip (2639) applies to Microsoft Excel 97, 2000, 2002, and 2003.

Dive Deep into Macros! Make Excel do things you thought were impossible, discover techniques you won't find anywhere else, and create powerful automated reports. Bill Jelen and Tracy Syrstad help you instantly visualize information to make it actionable. You�ll find step-by-step instructions, real-world case studies, and 50 workbooks packed with examples and solutions. Check out Microsoft Excel 2019 VBA and Macros today!
Want to print different headers or footers on different parts of your worksheet? Excel has no inherent way to do this, ...
Discover MoreWhen working with headers and footers in a macro, you might find this tip helpful. It describes how you can create ...
Discover MoreNeed to copy headers and footers from one worksheet to another? How about from one workbook to another? Here are some ...
Discover MoreFREE SERVICE: Get tips like this every week in ExcelTips, a free productivity newsletter. Enter your address and click "Subscribe."
There are currently no comments for this tip. (Be the first to leave your comment—just use the simple form above!)
Got a version of Excel that uses the menu interface (Excel 97, Excel 2000, Excel 2002, or Excel 2003)? This site is for you! If you use a later version of Excel, visit our ExcelTips site focusing on the ribbon interface.
FREE SERVICE: Get tips like this every week in ExcelTips, a free productivity newsletter. Enter your address and click "Subscribe."
Copyright © 2026 Sharon Parq Associates, Inc.
Comments