Let's say you work in an office and are preparing a presentation with Excel. You want your presentation to look as good as it can, but the only printer you have is an old low-resolution ink-jet printer. While this output might be acceptable for some purposes, you want your presentation to look real good. You know that Joe, down the hall, has a 1200dpi (dots per inch) PostScript color laser printer (lucky Joe!), and this would give your presentation the punch you need. Unfortunately, Joe's printer is not available through your office network. Short of unplugging his printer and hefting it down to your office, what do you do?
The easiest solution is to print your workbook to disk or to a thumb drive (one of those little memory-based drives) and then take the file down to Joe's computer where you can send it to the printer. While this might seem complicated, it is not really. There is, however, a specific sequence of steps you must follow:
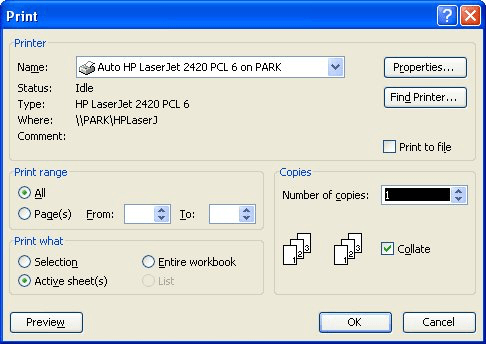
Figure 1. The Print dialog box.
When you print, you will be asked for a filename where you want the printer output stored. Supply a regular filename. Outside of this, printing will appear to progress as normal. When you have finished printing, you can then copy the newly created output file to the disk or thumb drive and walk it down to Joe's machine. If the name of the file is REPORT.OUT , you would enter the following at the command prompt on Joe's machine:
COPY F:REPORT.OUT LPT1:
Just replace the F: with the drive letter of the drive on which your output file is located. (Chances are good it will be something else.) This command sends the report file to the parallel printer port on Joe's machine.
Shortly you will have the output you desire. (If you use this command and it does not seem to work properly on Joe's system, try it by adding a space and a /B to the end of the line.)
ExcelTips is your source for cost-effective Microsoft Excel training. This tip (3240) applies to Microsoft Excel 97, 2000, 2002, and 2003.

Create Custom Apps with VBA! Discover how to extend the capabilities of Office 365 applications with VBA programming. Written in clear terms and understandable language, the book includes systematic tutorials and contains both intermediate and advanced content for experienced VB developers. Designed to be comprehensive, the book addresses not just one Office application, but the entire Office suite. Check out Mastering VBA for Microsoft Office 365 today!
If you are using a macro to create your printed Excel output, you may need a way to specify that paper should come from a ...
Discover MoreIf you have multiple printers accessible to your computer, you may need a way to quickly print your worksheet on a ...
Discover MoreNeed a full-page border on your Excel printouts? It's not as easy to get one as you might wish. There are a few ways you ...
Discover MoreFREE SERVICE: Get tips like this every week in ExcelTips, a free productivity newsletter. Enter your address and click "Subscribe."
2024-04-12 14:19:22
Barbie
Couldn't you simply save the file to a flash drive, take it to Joe's computer, open it there, and print normally without going through extra, unfamiliar steps?
Got a version of Excel that uses the menu interface (Excel 97, Excel 2000, Excel 2002, or Excel 2003)? This site is for you! If you use a later version of Excel, visit our ExcelTips site focusing on the ribbon interface.
FREE SERVICE: Get tips like this every week in ExcelTips, a free productivity newsletter. Enter your address and click "Subscribe."
Copyright © 2026 Sharon Parq Associates, Inc.
Comments