Default Headers and Footers

Written by Allen Wyatt (last updated June 19, 2021)
This tip applies to Excel 97, 2000, 2002, and 2003


Let's face it—when you first start Excel, the headers and footers used in your workbook are pretty boring. In fact, you may be getting tired of changing the default headers and footers on each new workbook you create. If you find yourself in this boat, you can set the headers and footers so they default to anything you desire. You can also create any other "customizations" for your worksheet in this same manner. Simply follow these steps:
  1. Open a new Excel workbook.
  2. Set up the workbook the way you want it to appear, by default. This should include (but not be limited to) headers, footers, and the like.
  3. Choose Save As from the File menu. Excel displays the Save As dialog box. (See Figure 1.)
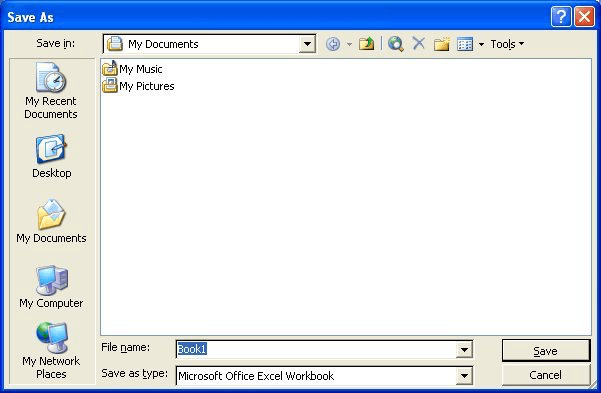
  4. Figure 1. The Save As dialog box.

  5. In the Save As Type pull-down list at the bottom of the dialog box, select Template (*.xlt).
  6. The file name you use should be Book.xlt.
  7. Save your newly created template in the XLStart folder. (Do not save it in the default template folder.)
That's it. Now, any time you create a new workbook, Excel uses your template (Book.xlt) as its model for what you want. If you are unsure of where the XLStart folder is located (step 6), use the Find feature of Windows to locate the folder. Its exact location can vary depending on how Excel was installed on your machine, as well as the version you are using. You should note that if you are using Excel in a networked environment, you may not have the proper permissions to modify or save anything in the XLStart folder on the server. If you are in this situation, you can get around it in the following manner:
  1. Create your own "startup folder" on your local machine. You can name the folder anything you like.
  2. Store the Book.xlt template file in the folder you created.
  3. Within Excel, choose Options from the Tools menu. This displays the Options dialog box.
  4. Make sure the General tab is selected. (See Figure 2.)
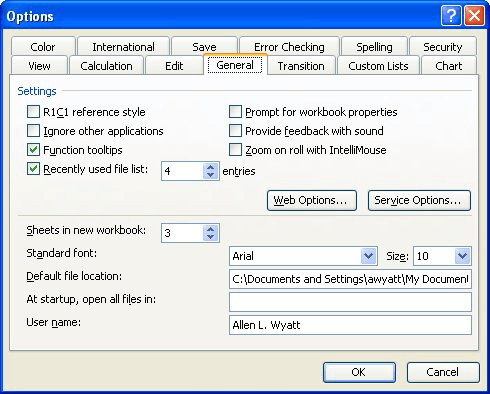
  5. Figure 2. The General tab of the Options dialog box.

  6. At the bottom of the dialog box, change the Alternate Startup File Location to the complete path of your own startup folder (the one you created in step 1).
  7. Click on OK to close the Options dialog box.
  8. Close and restart Excel.
There is one other caveat to this tip: If you use the Worksheet option from the Insert menu to add a new worksheet to your workbook, the new worksheet will not have the settings (including the header and footer) set the way you want them. To handle this circumstance, follow these steps:
  1. Open a new Excel workbook, after doing the previous steps. In this instance, all your settings should be just the way you want them.
  2. Delete all the worksheets from the workbook except one.
  3. Choose Save As from the File menu. Excel displays the Save As dialog box.
  4. In the Save As Type pull-down list at the bottom of the dialog box, select Template (*.xlt).
  5. The file name you use should be Sheet.xlt.
  6. Save your newly created template in the XLStart folder, not in the default template folder.
Now, when you insert a worksheet, it will be based on the single sheet you saved in Sheet.xlt.

ExcelTips is your source for cost-effective Microsoft Excel training. This tip (2635) applies to Microsoft Excel 97, 2000, 2002, and 2003.

Author Bio

Allen Wyatt

With more than 50 non-fiction books and numerous magazine articles to his credit, Allen Wyatt is an internationally recognized author. He is president of Sharon Parq Associates, a computer and publishing services company. ...

MORE FROM ALLEN

Reading a PDF Newsletter on a Cell Phone

Sometimes creating a Word document is just the first step. Often you'll want to then convert it to a PDF file that can be ...

Discover More

Sending Printer Commands

If you need to send a command directly to your printer, then you need to use the PRINT field. It allows you to send ...

Discover More

Use Filenames that Sort Properly

If you take some care when you name your document files, you'll find it much easier to manage those files at a later ...

Discover More

Excel Smarts for Beginners! Featuring the friendly and trusted For Dummies style, this popular guide shows beginners how to get up and running with Excel while also helping more experienced users get comfortable with the newest features. Check out Excel 2013 For Dummies today!

More ExcelTips (menu)

Putting Spreadsheet Names in Headers or Footers

One of the things you can add to your page header or footer is the name of your workbook file name. Here's how to make ...

Discover More

Multiple Line Headers and Footers

When working with headers and footers in a macro, you might find this tip helpful. It describes how you can create ...

Discover More

Using Color in Headers and Footers

Applying color to the text in your headers and footers is a bit of a dream in some versions of Excel. Here's an overview ...

Discover More
Subscribe

FREE SERVICE: Get tips like this every week in ExcelTips, a free productivity newsletter. Enter your address and click "Subscribe."

View most recent newsletter.

Comments

If you would like to add an image to your comment (not an avatar, but an image to help in making the point of your comment), include the characters [{fig}] (all 7 characters, in the sequence shown) in your comment text. You’ll be prompted to upload your image when you submit the comment. Maximum image size is 6Mpixels. Images larger than 600px wide or 1000px tall will be reduced. Up to three images may be included in a comment. All images are subject to review. Commenting privileges may be curtailed if inappropriate images are posted.

What is five more than 3?

There are currently no comments for this tip. (Be the first to leave your comment—just use the simple form above!)


This Site

Got a version of Excel that uses the menu interface (Excel 97, Excel 2000, Excel 2002, or Excel 2003)? This site is for you! If you use a later version of Excel, visit our ExcelTips site focusing on the ribbon interface.

Newest Tips
Subscribe

FREE SERVICE: Get tips like this every week in ExcelTips, a free productivity newsletter. Enter your address and click "Subscribe."

(Your e-mail address is not shared with anyone, ever.)

View the most recent newsletter.