Written by Allen Wyatt (last updated December 1, 2021)
This tip applies to Excel 97, 2000, 2002, and 2003
Kay wrote to describe a problem she was having with a template, a macro, and a toolbar button. It seems that Kay created a macro, saved it in the workbook, and assigned the macro to a toolbar button. When she later saved the workbook as a template, the toolbar button no longer worked properly if she deleted the original workbook.
When you create a macro, you have the opportunity to specify exactly where it should be stored. If you store it in a workbook and then later save the workbook as a template, the macro is still there because the workbook is converted to a template that contains all the original macros stored with the workbook.
The problem is with the toolbar button. When you create a toolbar button and assign a macro to it, Excel remembers where the macro is stored. When the workbook was originally created, the macro was stored in the workbook. This means that the toolbar button "points" to the macro in the workbook. Even after the workbook is saved as a template, the toolbar button still points to the macro in the workbook, not in the template.
To correct this situation, all you need to do is—after you save the workbook as a template—make sure you open the template and reassign macros to the toolbar buttons. These macros should be ones that reside in the template itself, not in any other workbook you have open at the time. You can then save the template and everything should work fine. You can reassign the macros by following these steps:
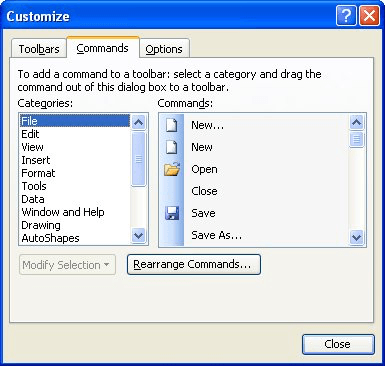
Figure 1. The Customize dialog box.
Note:
ExcelTips is your source for cost-effective Microsoft Excel training. This tip (2717) applies to Microsoft Excel 97, 2000, 2002, and 2003.

Excel Smarts for Beginners! Featuring the friendly and trusted For Dummies style, this popular guide shows beginners how to get up and running with Excel while also helping more experienced users get comfortable with the newest features. Check out Excel 2013 For Dummies today!
Need to use a macro to select a specific cell in a different workbook? It's not as straightforward of a proposition as ...
Discover MoreNeed to know the character code used for a particular character? In a macro you can use the Asc function to determine the ...
Discover MoreThe mouse wheel, by default, controls scrolling vertically through your worksheet. If you don't want the wheel to control ...
Discover MoreFREE SERVICE: Get tips like this every week in ExcelTips, a free productivity newsletter. Enter your address and click "Subscribe."
2018-04-29 05:42:00
Willy Vanhaelen
@Sacha
Of course, this tip aplies to Excel 97 ... 2003 (see last paregraph).
2018-04-29 00:49:04
Sascha
Doesn't apply to Excel 2016.
Got a version of Excel that uses the menu interface (Excel 97, Excel 2000, Excel 2002, or Excel 2003)? This site is for you! If you use a later version of Excel, visit our ExcelTips site focusing on the ribbon interface.
FREE SERVICE: Get tips like this every week in ExcelTips, a free productivity newsletter. Enter your address and click "Subscribe."
Copyright © 2024 Sharon Parq Associates, Inc.
Comments